It started the way the good ones do: a drawer and a question.
Twenty-plus years in IT, eleven of them running the AV for a 558-room hotel and conference venue here in Stockholm, and the same problem keeps turning up. Someone needs a camera on a screen — a speaker at a lectern, a panel, a product on a table — and getting there usually means dragging a laptop and OBS into the room, hunting for a free USB port, and hoping the capture card behaves. There had to be something smaller. Take any USB webcam, give me a clean HDMI feed, let me control it properly, and leave the laptop at home.
At 23:00 last Saturday I said “can we do that?” out loud, opened the drawer, and started pulling parts: a Raspberry Pi 4, an older Pi 3B+, an official 7″ touchscreen, and a little 2.8″ Adafruit screen that had been in there long enough to forget. Within minutes there was a plan. I drove the whole build over SSH from my Windows PC with Claude riding shotgun on the terminal — a sentence that would have sounded unhinged a few years ago.
First light at 2 a.m.
By two in the morning there was a camera on HDMI. Then came the real hunt: frame rate. The obvious path is to let the Pi’s hardware decoder chew through the camera’s MJPEG, and it works, and it is slow. The fix was counter-intuitive. Most webcams will also hand you raw, uncompressed video if you ask for it. Skip the JPEG decoder entirely, pull raw frames over USB 3, and the decode step disappears. On a Pi 4 with a Logitech StreamCam that bought a solid 1080p30 with zero dropped frames at around 10% CPU.
Somewhere in there I remembered that a Swedish keyboard keeps the tilde and the backslash nowhere near where my fingers expect them. Typing Linux paths on a Pi console at 2 a.m. turns into its own small boss fight.
Then both screens died
The plan had a little local screen bolted to the Pi. Both candidates were dead by sunrise. A power rewire on the 7″ touchscreen — feeding it from the GPIO header and its own supply at the same time — cooked its control board. The 2.8″ screen turned out to have a cracked ribbon flex from years in the drawer. For good measure, a loose bare jumper wire faked a dead GPIO pin and sent me chasing a fault that was not there, until a proper loopback test cleared the Pi itself.
That lesson is now printed at the top of the README, in bold, where I will see it next time: never power a display from the GPIO header and its own power supply at once.
The pivot: your phone is the monitor
I was not going to shelve a working camera over two dead screens. So the control surface moved off the Pi entirely and onto a phone. Point any phone on the network at http://<pi>.local:8080/ and there is the camera: a bigger screen, wireless, and nothing left on the GPIO header to fry.
This is where the AV years earned their keep. Anything you overlay on a camera’s output lands in the recording or on the projector — the tally, the menus, the battery icon, all of it. So the HDMI stays a clean program feed with nothing painted on it, and every piece of feedback lives on the phone instead. That is how a proper camera monitor works on a shoot, and it is the right split here too.
The phone panel carries a live preview, a LIVE / FROZEN tally, a freeze-frame button, a pan/tilt D-pad, zoom, mirror and flip, and six presets — tap to recall, hold to save. The phone and a cheap air-mouse remote stay in sync live, so you can drive it from across the room. The remote’s power button is swallowed on purpose, so nobody shuts the Pi down in the middle of a session by reflex.
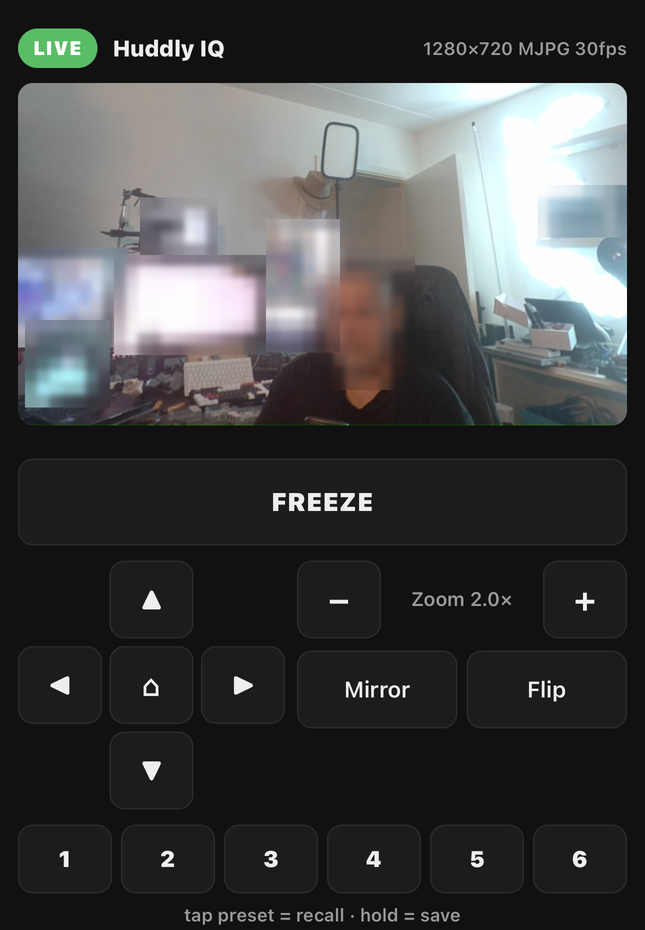
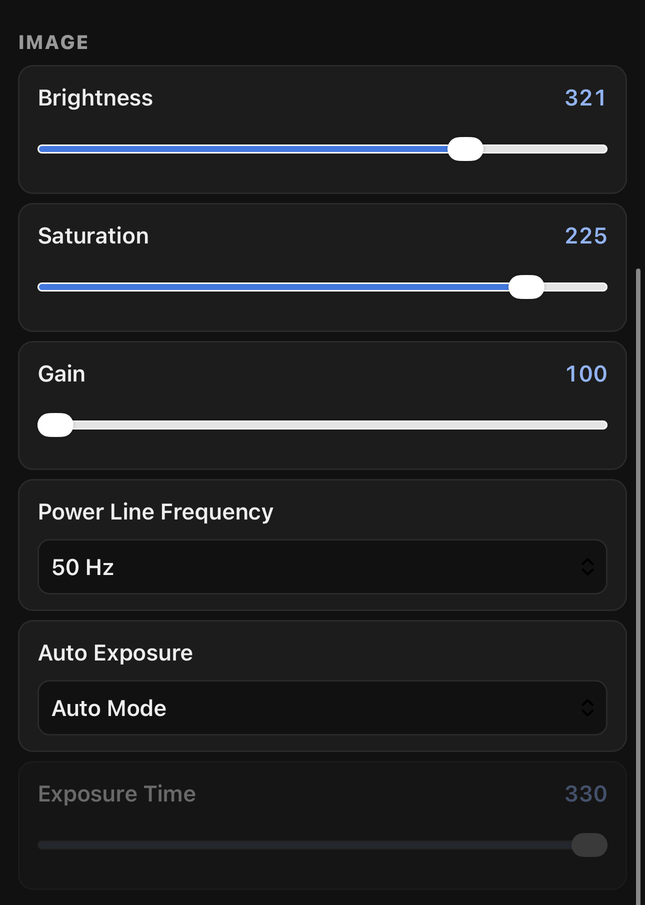
Whatever camera you plug in, its own controls show up on their own. Zoom, pan, tilt, focus, exposure, white balance — the panel reads what the camera exposes over UVC and builds the controls to match. A camera with no optical zoom gets a digital crop instead, so the control is always there.
Unit two, and a watchdog that learned to heal itself
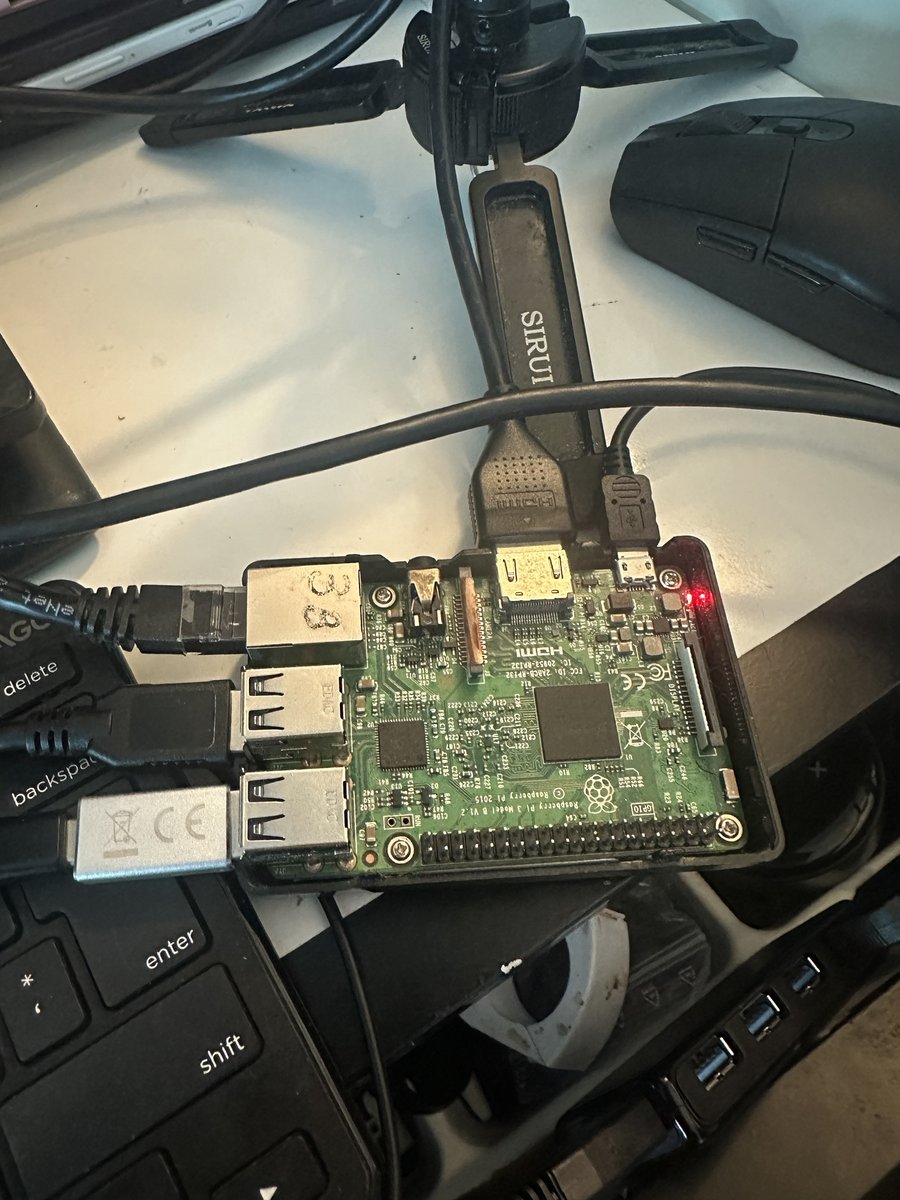
With one unit working I built a second on the older Pi 3, this time with a Huddly IQ — a 4K conference camera — hanging off USB 2. The Pi’s hardware JPEG decoder silently hung on that camera’s stream. Rather than hard-code around one camera, the watchdog learned to spot the stall, fall back to software decoding on its own, and rebuild the video pipeline without me touching it. A Pi 3 doing 720p30 at around 30% CPU is plenty for a talking head.
The last gremlin looked like a failing camera: an intermittent flicker. It was under-voltage. That camera is hungry, and the Pi could not feed it and run the pipeline at the same time. A powered USB hub settled it. Per-camera settings are remembered, cameras hot-plug, and the feed follows whatever is on the HDMI port.
What camhdmi actually does
- Any UVC camera, controls discovered on plug-in — zoom, pan, tilt, focus, exposure and white balance appear for whatever is attached.
- A clean HDMI program feed — no menus, no text, no tally burned into the picture, so it drops straight into a stream or a vision mixer.
- A phone panel with live preview, tally, freeze frame, D-pad, zoom, mirror/flip and six presets, kept in sync with the remote.
- Air-mouse remote control, with the power button swallowed so no one ends the show by accident.
- Per-camera memory, hot-plug, and a self-healing watchdog that rebuilds the pipeline if it ever stalls.
- One-command install on Raspberry Pi OS Lite: clone, run
./install.sh, reboot.
Tested on a Pi 4 with a Logitech StreamCam at 1080p30 over USB 3 (around 10% CPU), and on a Pi 3 with a Huddly IQ at 720p30 over USB 2 (around 30% CPU). The Pi 5 was skipped on purpose: it dropped the hardware video blocks this pipeline leans on, so for a single camera to HDMI it costs more for no gain.
Grab it
camhdmi is open source under the MIT licence, tagged v1.0, built between Saturday night and Sunday afternoon. If you have a spare Pi and a webcam in a drawer of your own, you are about twenty minutes from a clean HDMI camera.